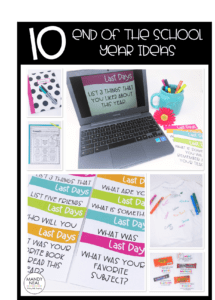
Is the end of the school year really near? Finally, this year is over! Which one can you relate to? How do you spend the last few school days at the end of the year? My days are jam-packed with fun activities. We begin the year with fun stuff and end with fun stuff. So, what are some of these fun activities? I’ve compiled a list that you can hopefully grab a few ideas
1. Write a letter to next year’s students
Before releasing students to write their letter, brainstorm things that they might want to share with your future students. Here are a handful of writing stems that keep students focused on the purpose:
What did we do this year that you thought was fun…
What advice would you give to someone entering our class next year…
What should you do to keep the teacher happy…
What really upsets the teacher…
What will you learn in math, science, or social studies…
2. Create a video for next year’s students
Instead of writing a letter, have students create a video.
3. Adjective for every student
Have each student in the classroom write an adjective to describe each of their classmates. Collect the words for each student and create a word cloud. This is one of my favorite word cloud generators.
4. Make a classroom memory book
Have each student write and illustrate their favorite memory from the school year. Collect all the memories to create a classroom book of memories, and make a copy for each student.
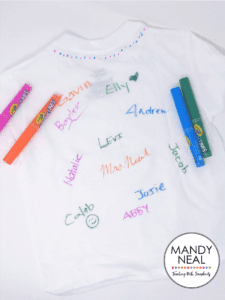
5. T-shirts
Have each student bring in a T-shirt (parent-approved) and have students sign each other’s shirts. Also, allow them to ask other teachers!
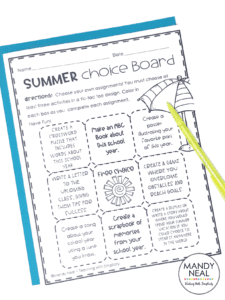
6. End of the Year Choice Board
Make a summer choice board full of fun activities that they can complete. Another idea would be to have students generate ideas to create a classroom idea board.
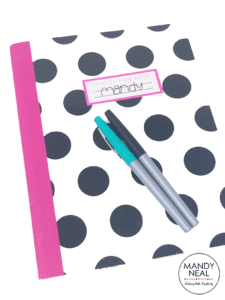
7. Letter to Students
Write a letter or find a poem to include inside a composition notebook for each of your students.
8. Candy Bar Gifts
Send your students off with candy bar gifts. Since they are candy, they are a hit!
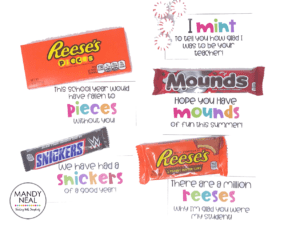
Here are six candy tag ideas:
- Hope you have MOUNDS of fun this summer!
- Have a WHOPPER of a good summer!
- We have had a SNICKERS of a good year!
- I MINT to tell you how glad I was to be your
teacher! - This school year would have fallen to PIECES
without you! - There are a million REESES why I’m glad you were
my student!
9. FREE Last Day ~ Task Cards
Get your students reminiscing about the school year and looking towards the next with these Last Day Task Cards. These free task cards are provided in both digital and printable format!
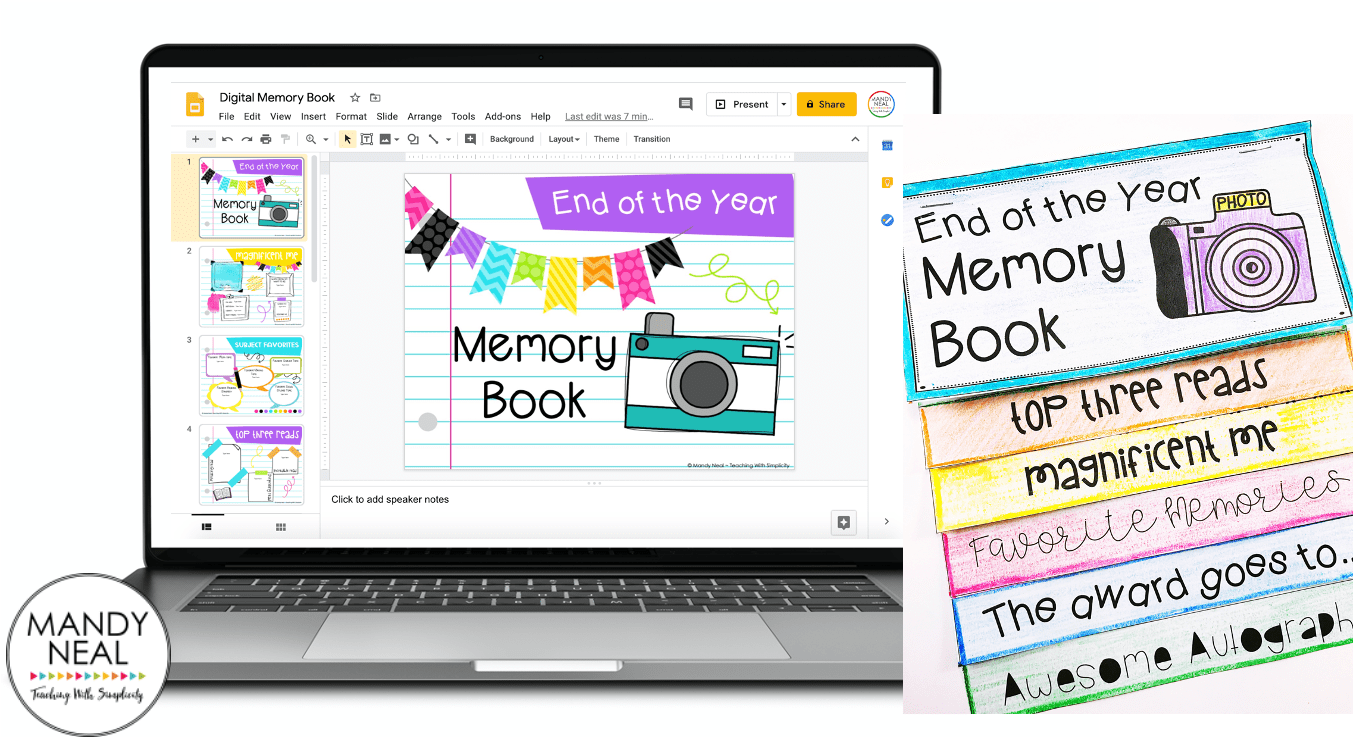
10. End of the Year Memory Book
Have students create a memory book that they will want to keep! Allow students to pick their choice of items they want to include with this End of the Year Memory book with 252 possible combinations, or you can choose the items that you want to include for students to complete. You can find the PRINT and DIGITAL memory book HERE.
11. End of the Year Countdown
Display a countdown to the last day of school. Find a place in the classroom to keep track and change the number each day. One of my favorite ways to countdown to the end of the year is the Digital End of the Year Countdown and Games. You can find it here!
![]()
12. Student Awards
Present each student with their own individual award ranging from academic achievement, character, and personality traits! Do you want done-for-you awards? Check these editable awards!
![]()