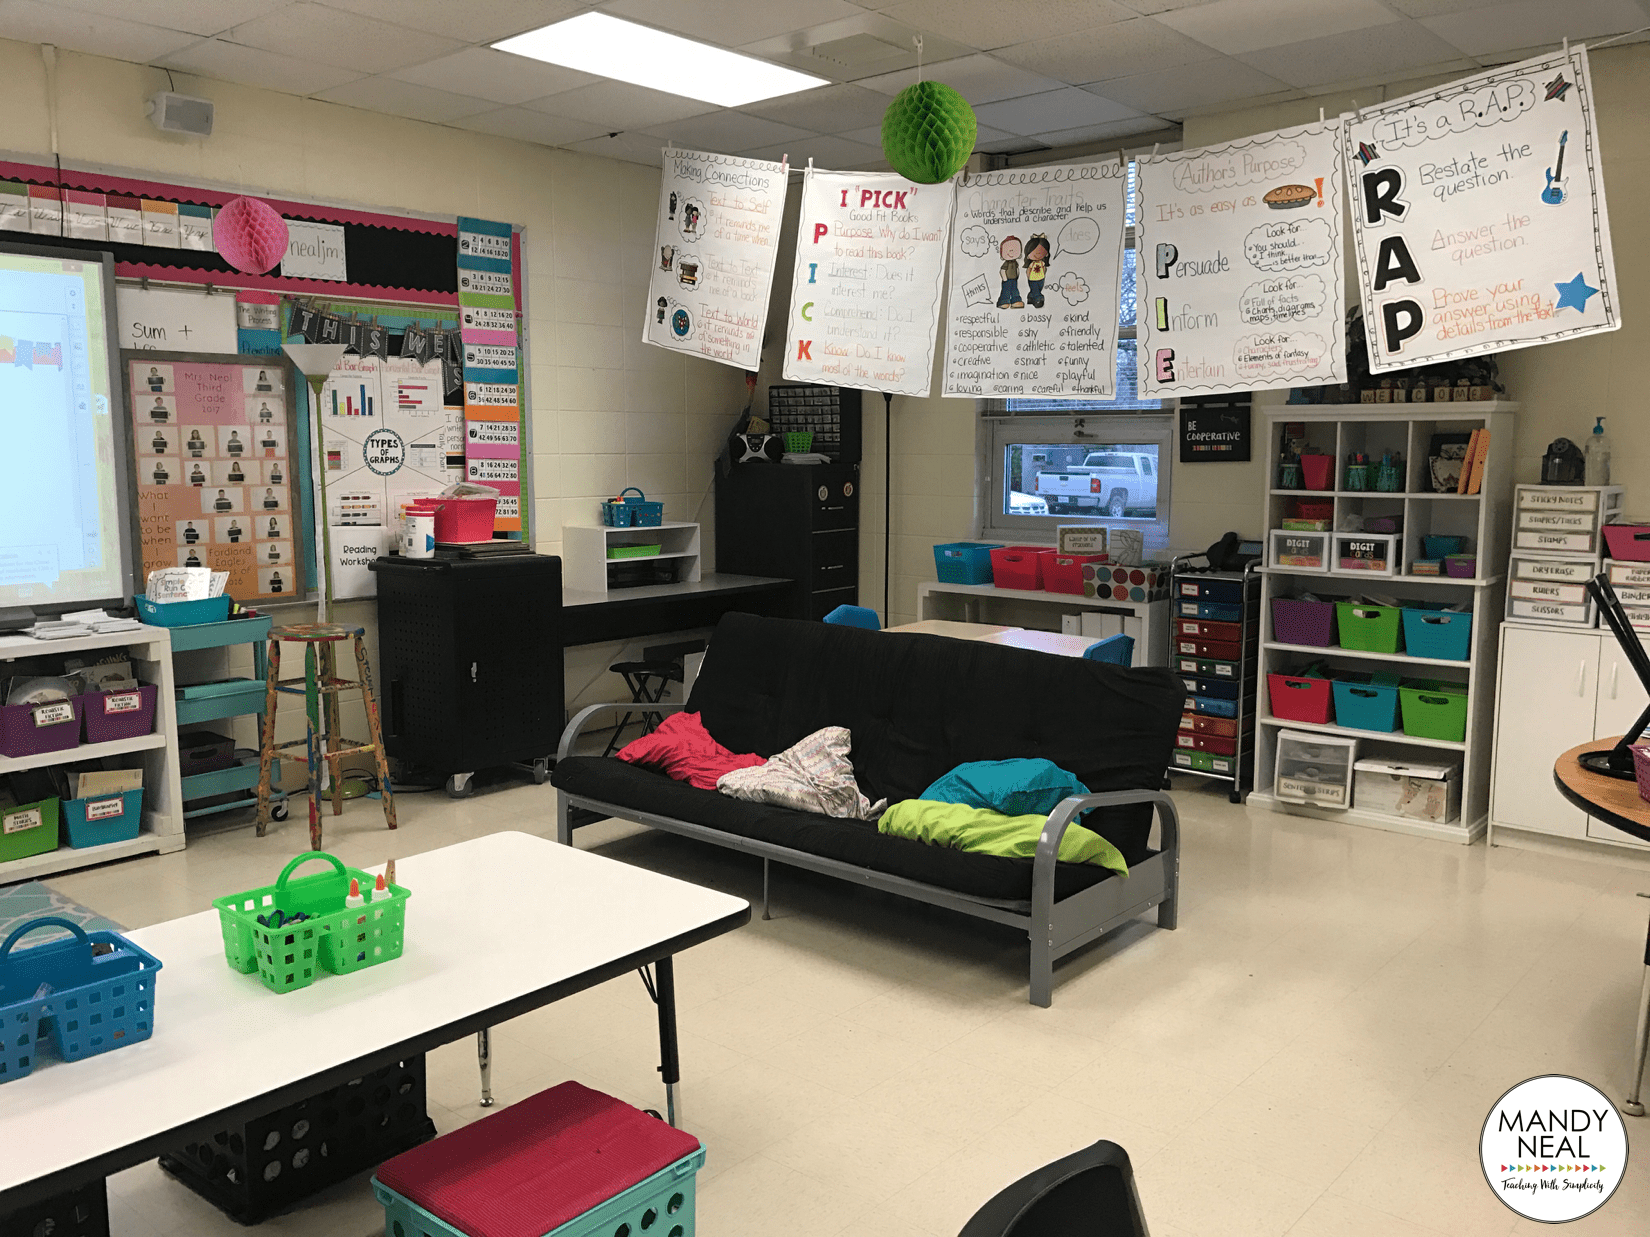
My classroom has always been set up for cooperative learning to take place. If I didn’t have tables, then my desks were arranged so that they formed tables. My classroom has definitely never looked or ran like the traditional classroom. Two years ago I started doing research on flexible seating, and I knew that I was sold! After spending the summer getting ready for my flexible seating classroom, I met my new teaching partner for the first time. Her name is Annie, and you can learn a little about her HERE. I told her my plans and she was onboard with me. So, here is our journey in implementing the first ever flexible seating in OUR elementary building!
Before Beginning
Have a rough idea of what it is that you want to accomplish. This is what I did the summer before I used flexible seating in my classroom. I spent more than three months creating lists, marking items off, adding items, shopping for bargains, looking through my own house for used furniture I could take to school, you name it.
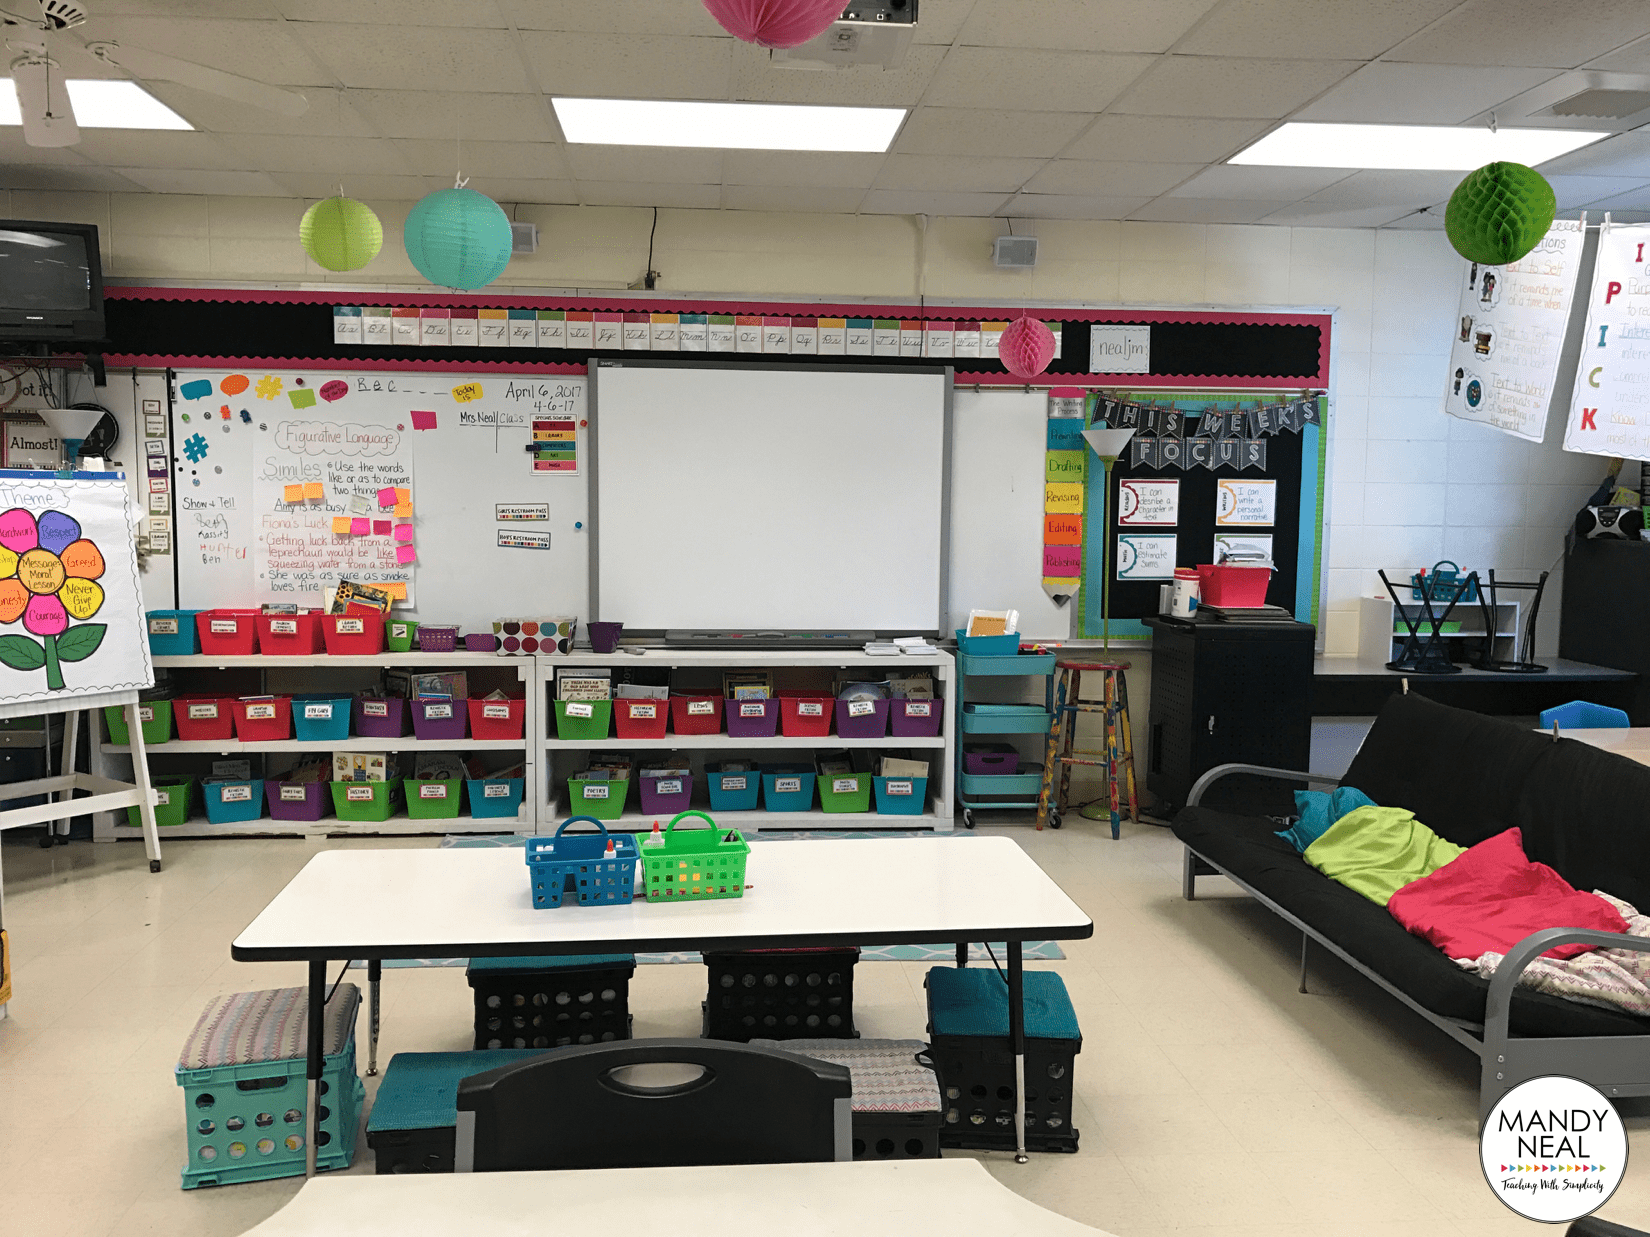
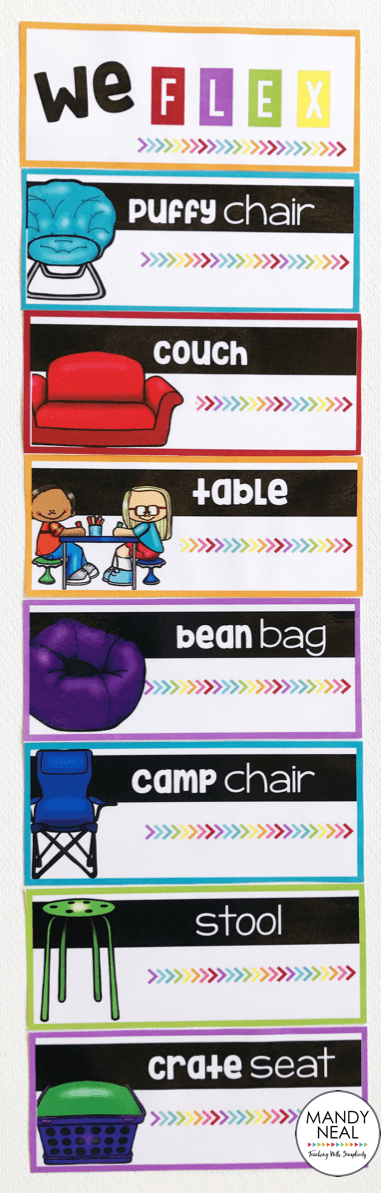
Seating options: You want more seating available than there are students. I had about 50% more seating than I had students. This allowed everyone to have more than one seating option per day.
Last year, I didn’t have a letter to explain to parents what was going on. This year, it will be a HUGE part of what goes home within their Meet the Teacher Night packet.
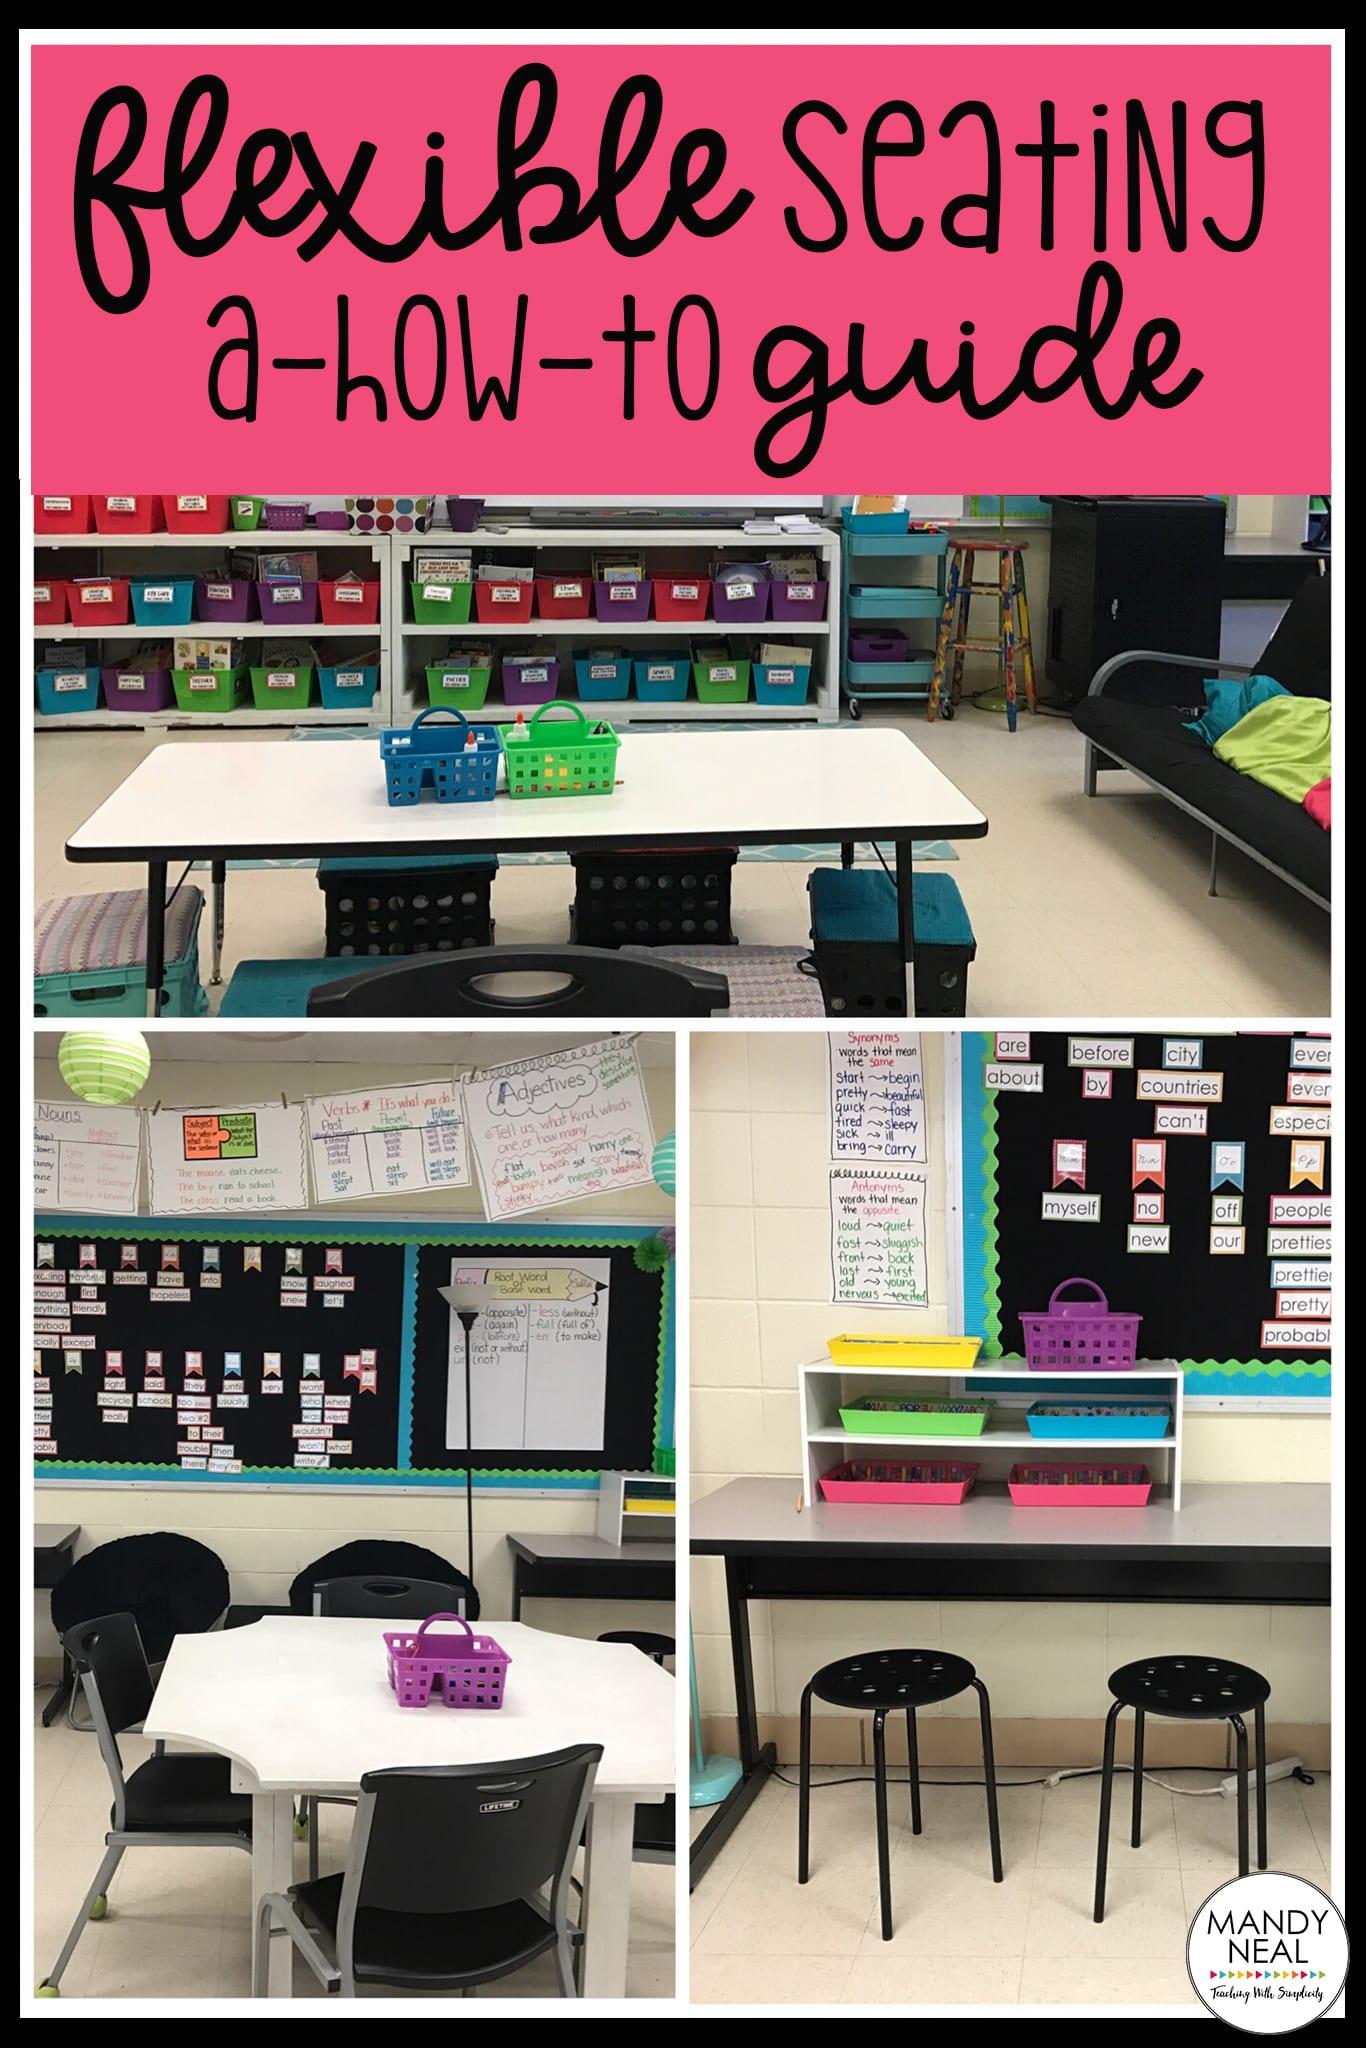
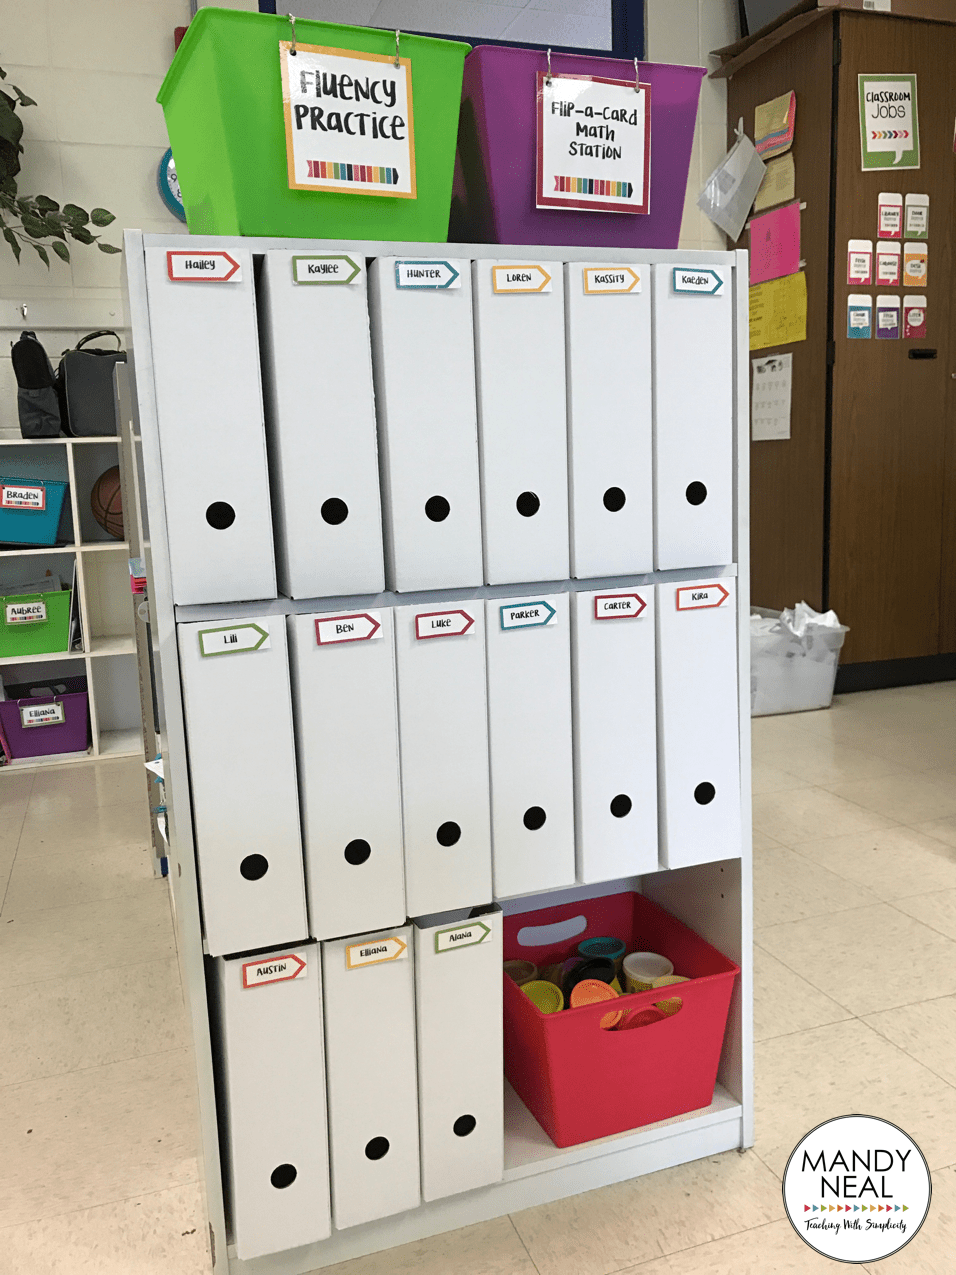
Before beginning, be sure to have a detailed plan on what you will do with students’ supplies. I {heart} organizing, so I feel that the organization of supplies were pretty solid and a system that I will use again this upcoming year. Each student has an Ikea book box that holds their notebooks and folders. They also each have a cubby in which they have a basket that holds their art supplies, pencils, erasers, etc.
Getting Started ( The first month)
- Don’t start the year giving students free reign. Begin the year by giving them “assigned” seats. This way they become familiar with your day-to-day classroom expectations and routines. The beginning of the year is exciting for students, but can also be full of anxiety. By “assigning” students to a spot in the classroom, you eliminate an unnecessary stressor. It also allows you time to build your classroom community foundation.
- Annie calls this their “home”. A place where they can go if you need them to settle down, if you have a sub, to keep their supplies, etc.
- Begin by moving students around to different spots so that they can see what does and does not work for them. Do this for the first month or so, until you feel that they are ready to make seating choices on their own.
- Provide students with detailed expectations of each area in the room. Introduce each area and then the expectations that follow. Do a “what it looks like” and “what it doesn’t look” like anchor chart. Post this in the room. If you begin this at the beginning, students will feel comfortable and know your expectations when they make changes of their own.
- Annie and I both agree on GRADUAL RELEASE. Do not think the first day your going to do flexible seating. Have them find their home first and the seat they love the most by letting them try out all the seats. It took us about a month before we let them chose their seats fully throughout the day.
Management
Classroom management has always been something that Annie and I have been good at it. We’ve had many conversations about this and it’s not something we shy away from. We get kids, they get us. Annie said that flexible seating really tested her skills, and I admit it did mine too! I felt like it was my first year of teaching all over again, but worse! Annie suggests making adjustments to your way of thinking, “I like to run a tight ship in my classroom, but flexible seating has caused me to release some of that control. It’s not bad, it’s just different, and needs some time to get used to.”
Annie: Remember you’re still boss. They’re kids. Sometimes and some kids need your guidance on choosing a spot.
Picking seats:
Managing how students choose where to sit is something that I will be starting different from the beginning this year. My students choose where to sit the moment they walk through the door. It’s a first come, first serve system. Last year each of my students had a clothespin as their clip. They came in the room, found their clip and placed in in the spot that they wanted to sit for the day. Let me just say, I wasn’t happy with this system. On a daily basis, at least one student lost their clip or broke it. That system will be gone. This year, students will have a clip, but the clips will be housed in one spot.
There is one specific seat that is always in high demand in the classroom. That is the futon. To keep the peace, I place a limit as to how many times a student may sit there per week. It seems like this might be a lot to keep track of, but I don’t do it. My students always know who has and who has not sat there during the week.
Additional tips from Annie K.
- Even into the fourth quarter you have to remind them about procedures and routines. The kids get way more comfortable in a flexible seating room. That is good but can be quite annoying
- Be prepared for things to get broken and dirty. It’s kind of hard. You start out the year with this beautiful classroom. Into the fourth quarter, things don’t look as pretty. Look for functional furniture, middle of the road prices, and look for used stuff and sales. Cheap furniture, turns out to be cheap and broken quickly. But like me, I had stuff given to me that wasn’t cheap, just used. It’s held up pretty well. You need to start preparing early. Always be on the lookout for something that will fit in your room.
- Find a partner or team to do it with you. I can’t imagine doing it on my own. There have been several times when I went to Mandy’s (my teacher partner) room and said “what have you done when a kid does this?” Or “OMG, do your kids do this?” Or even just, “Ah, I think I’m gonna give up flex seating.” Lol. It’s a lot easier when someone is doing it with you.
- Don’t be afraid to change it, if it’s not working. Flex seating is a fairly new trend. There is not a right or wrong way to do it. It’s ok if you take it slow or jump right in.
Ready to Get Started
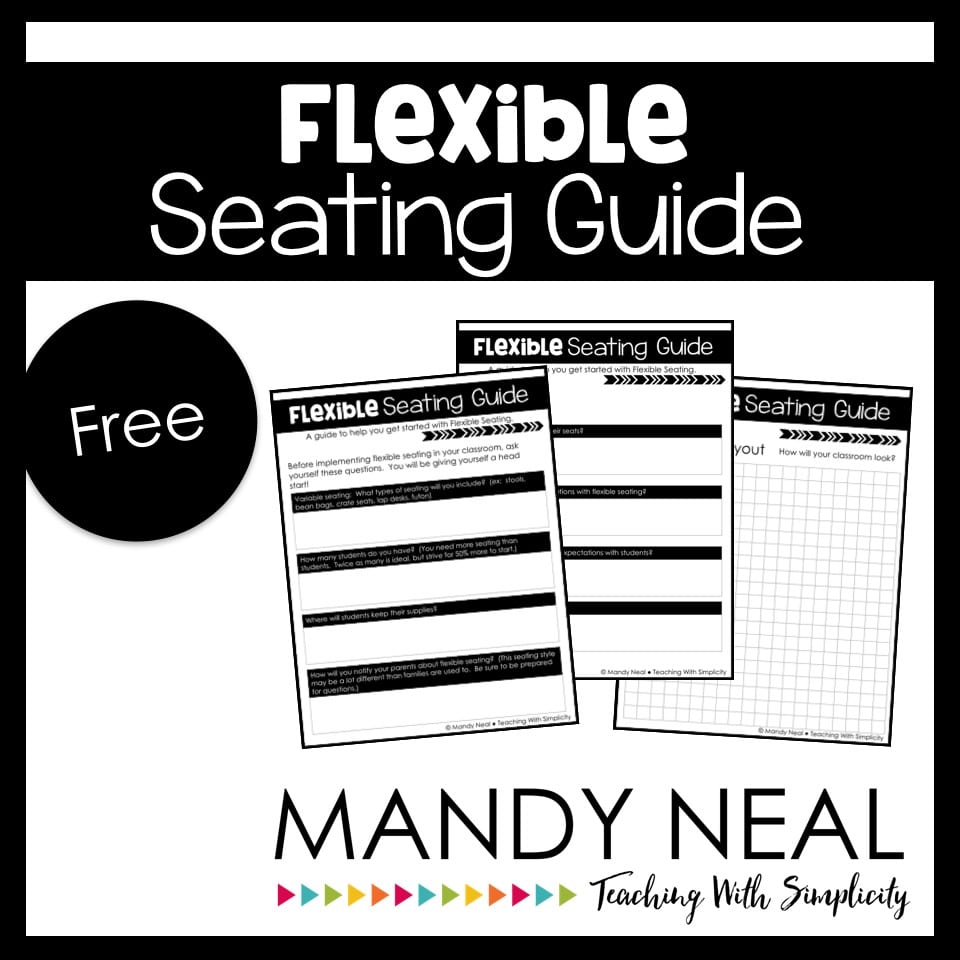
You can grab this free Flexible Seating Guide to help you get started! You can find it HERE.
Continuation
Last year contained a lot of trial and error. I’m sure that this year will include a lot of trial and error also, but hopefully not as much as the first.
Here are some changes that I will be making from the beginning:
- Parent letter – I will be sending home a parent letter explaining flexible seating in our classroom
- Classroom expectations – We will go over flexible expectations just as we go over all other expectations in the classroom.
- Flexible seating expectation will be posted for students to see.
- Students will sign a Flexible Seating Contract, which will hold them accountable.
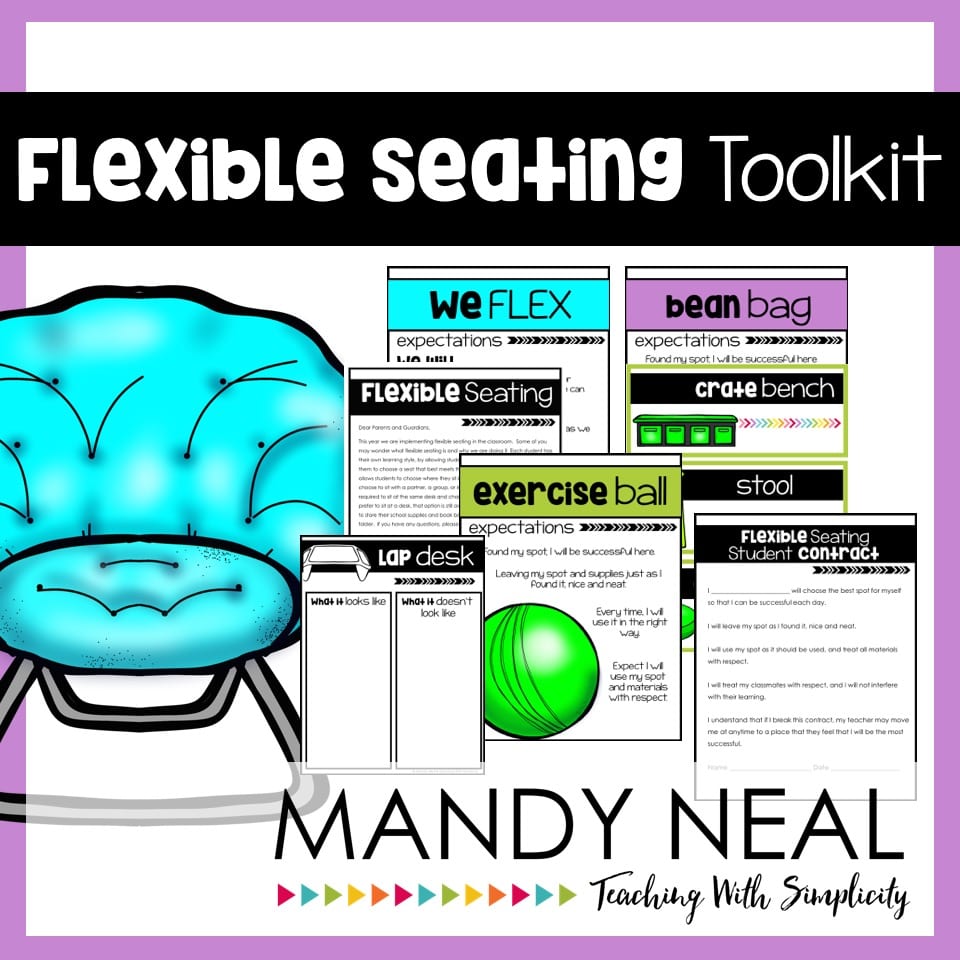
The changes that I will be making have been compiled into a Flexible Seating Toolkit. You can find the toolkit HERE.
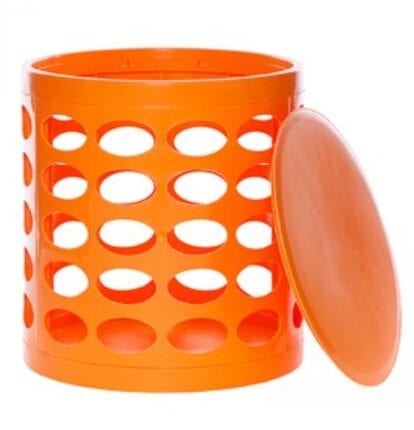
The last change that I’m going to make is at my small group table. Last year, I had stools that were around the table. These stools were able to be moved anywhere in the classroom. The problem that I ran into was when it was time for a small group lesson, we wouldn’t have enough stools, so students had to go around the room finding them and asking others to borrow them. This summer I came across the Otto Storage Stool, and it is my new solution! I have six of these Otto Storage Stools. They are going to be stationed at the small group table and used only for those that are using the table.
The Otto Storage Stool, is just that, a storage stool. They are easy to put together, they will hold a lot of items, are sturdy, and come in a variety of colors. I chose to go with the black and turquoise solid stool to match my classroom, but they also have the storage stool with holes.


Otto Storage is giving away one storage stool to one of you. You get to choose the style and color! To enter, follow the Rafflecopter steps below. It’s pretty simple.